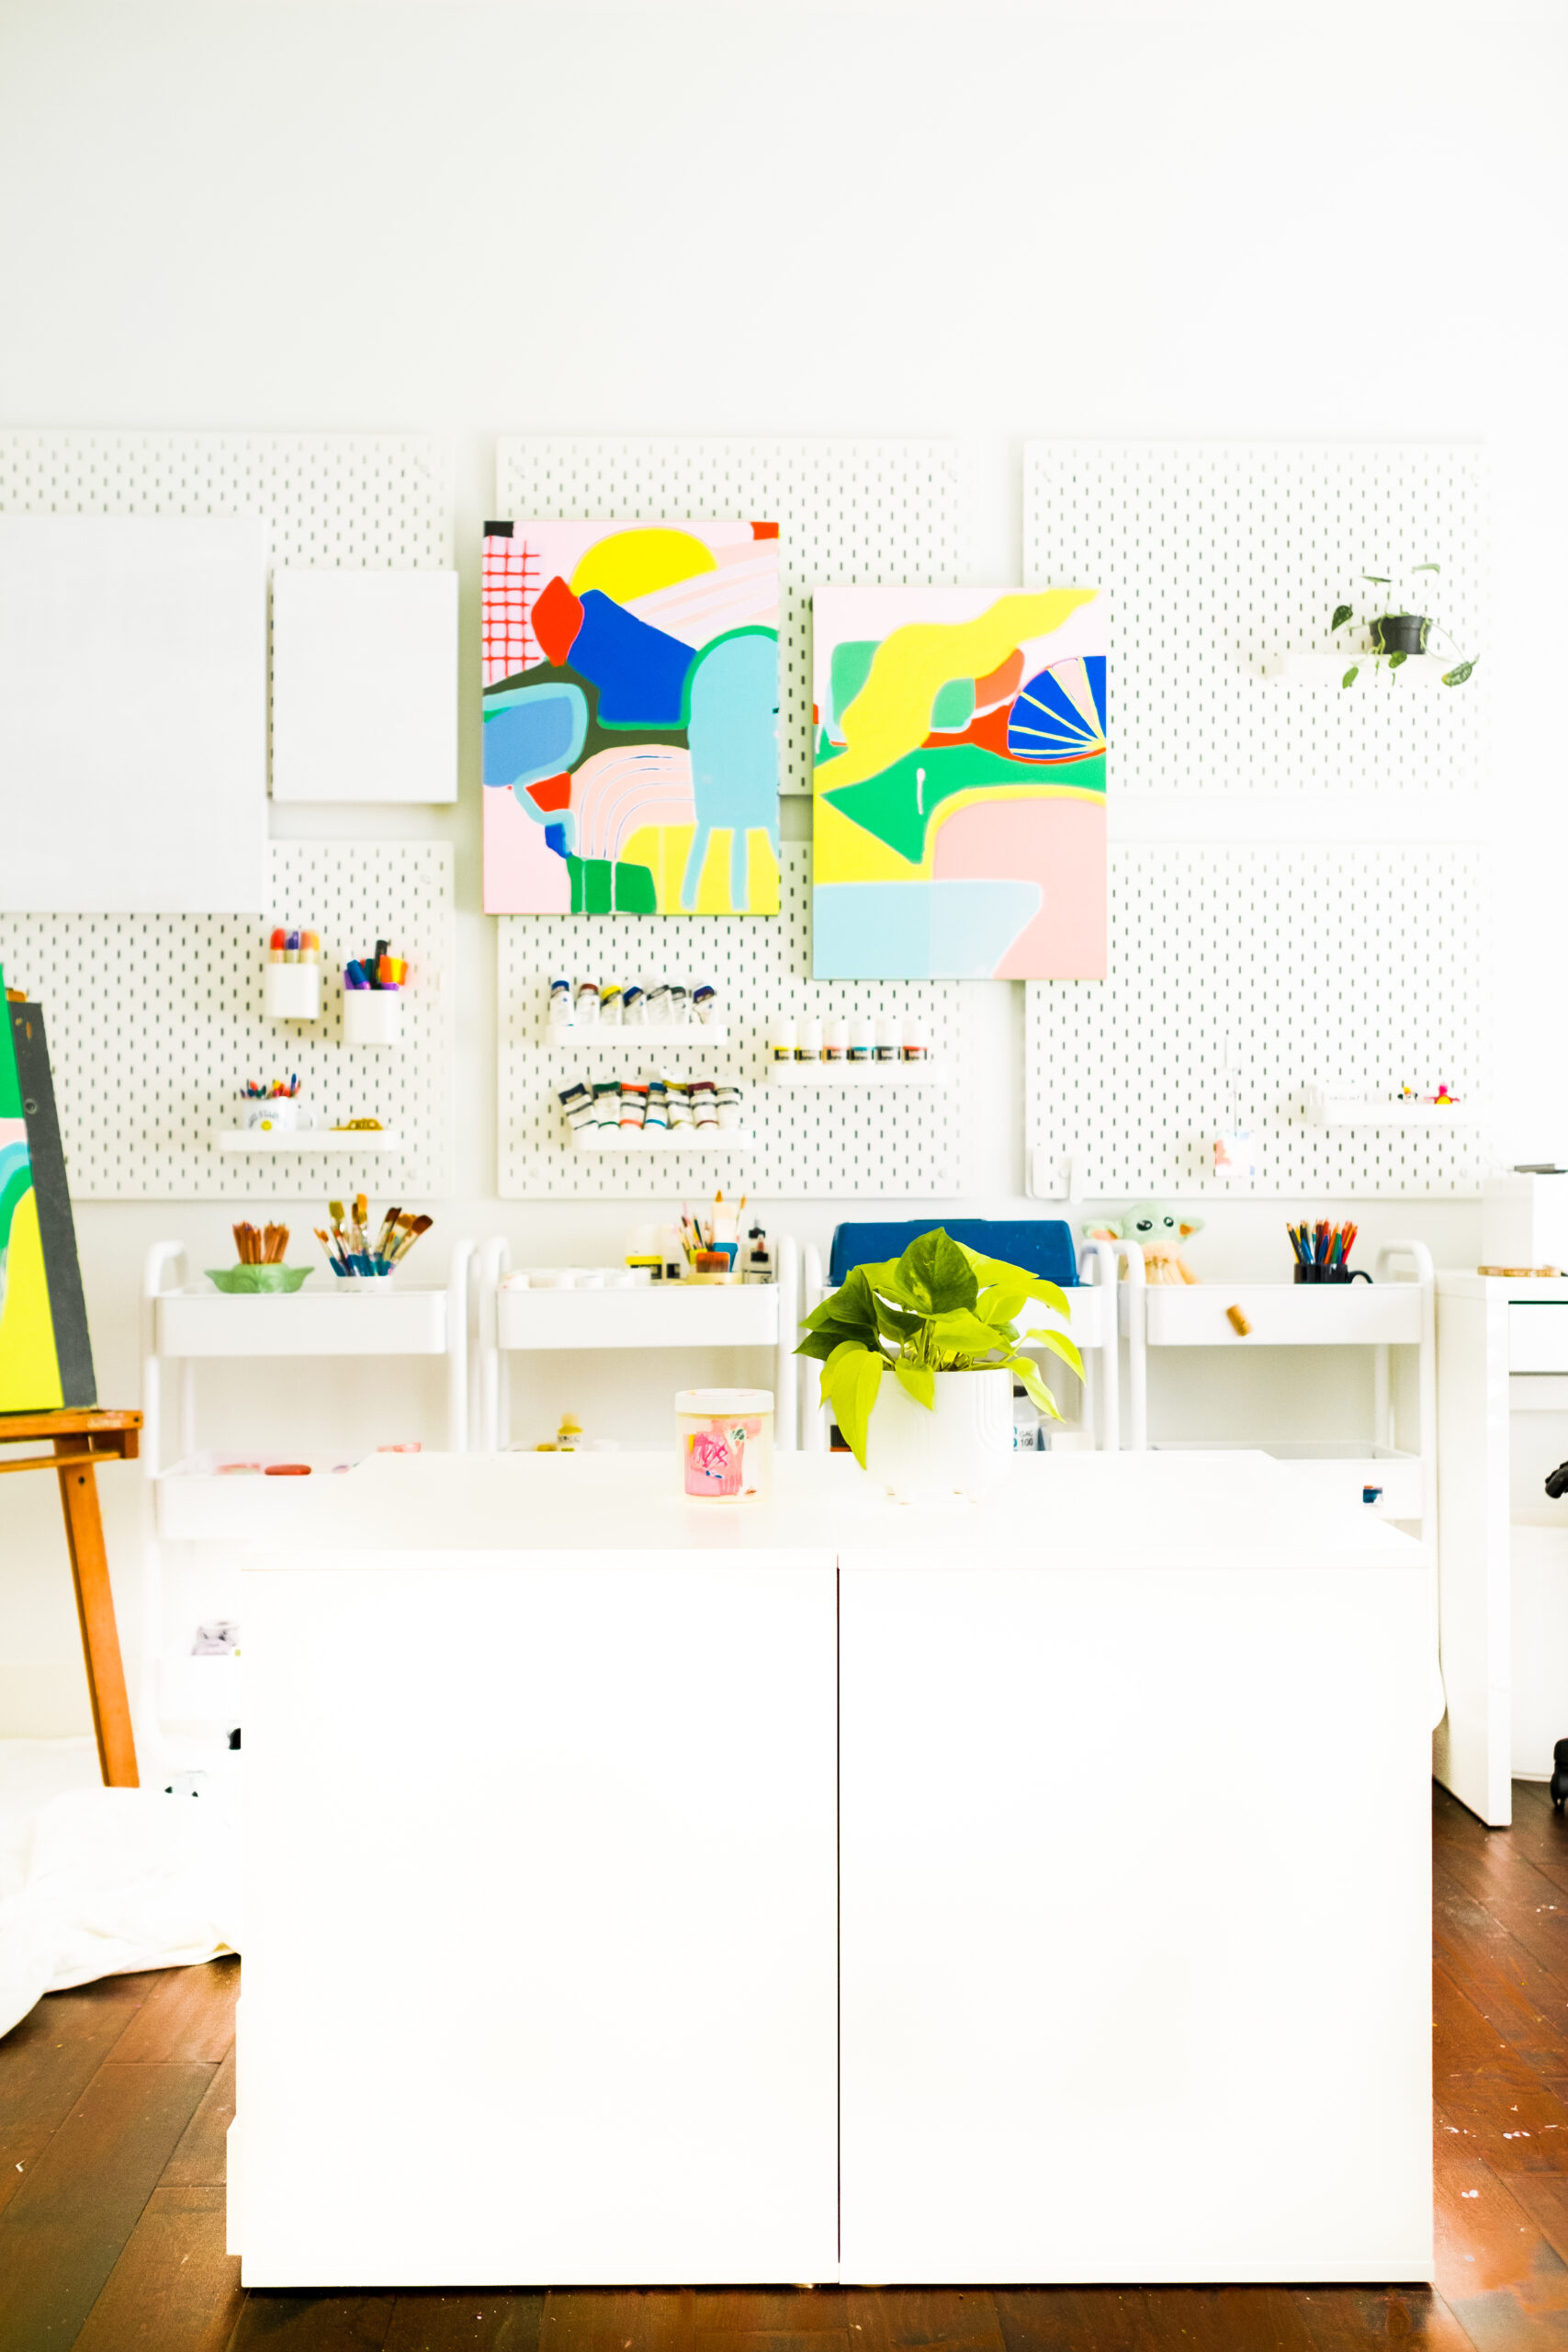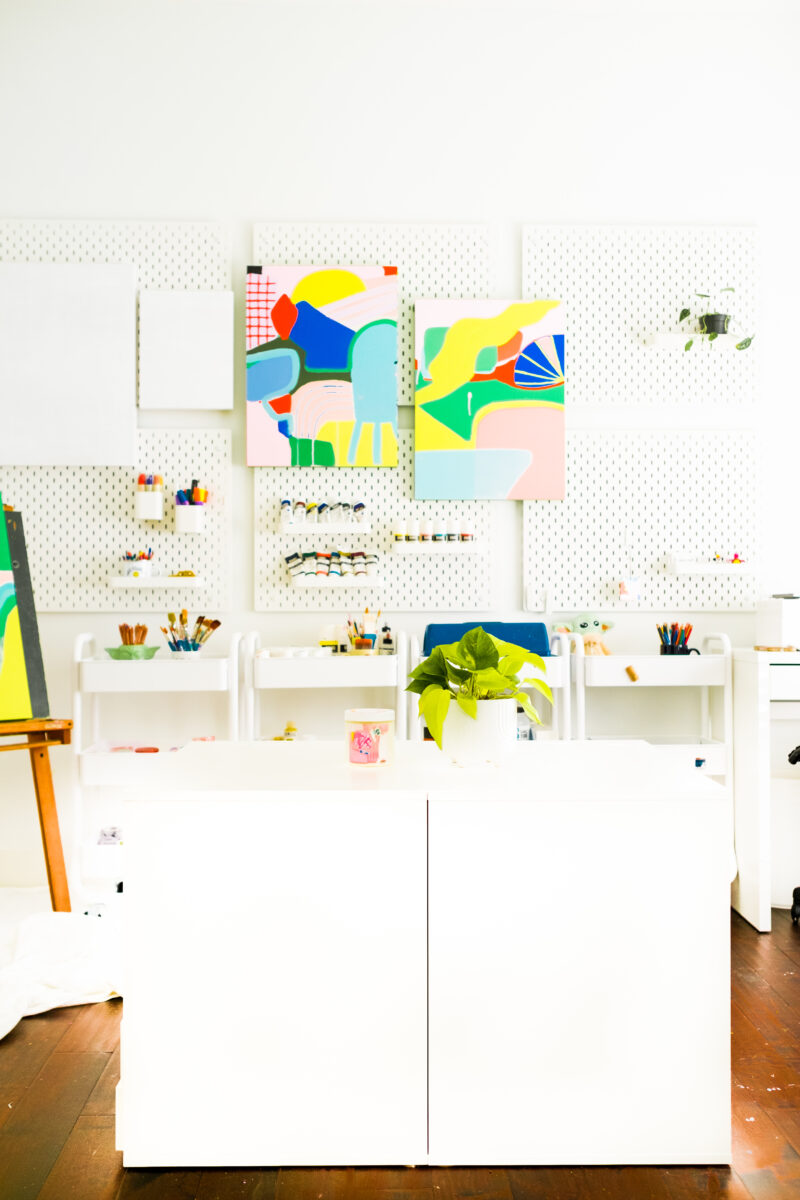
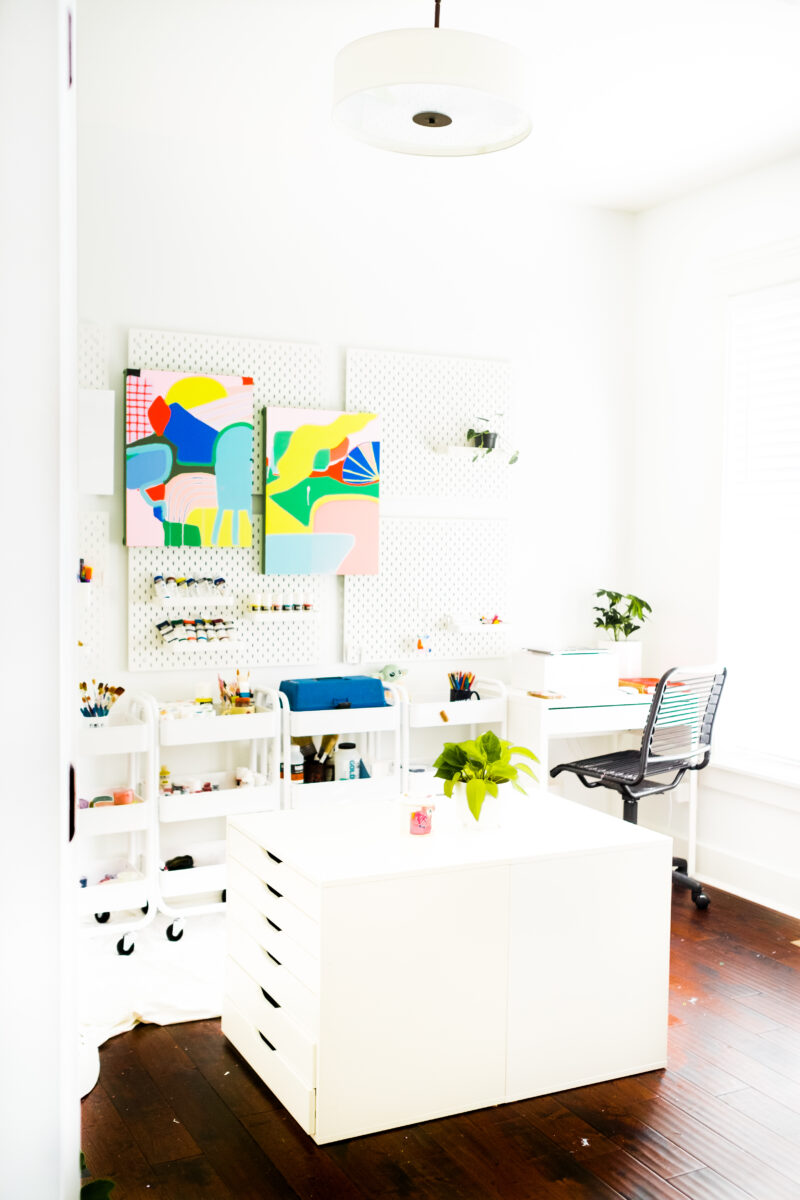
I’ve rearranged my studio! In the new year, I’ve been reevaluating my systems, processes, workflow, supplies, and even the layout of my space. As a result, my studio has become a place I can’t wait to walk through the door each day. It feels clean, organized, bright, and inspiring! Read below to see the changes I’ve incorporated:
STEP ONE:
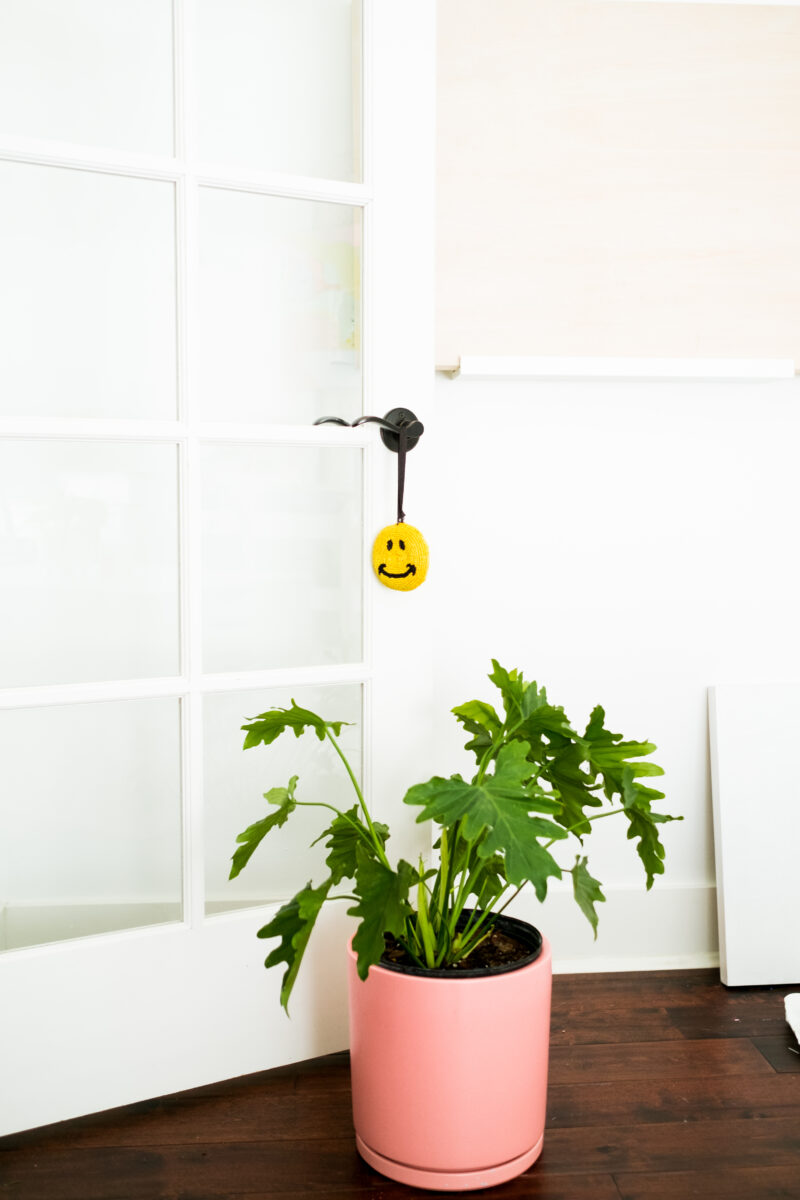
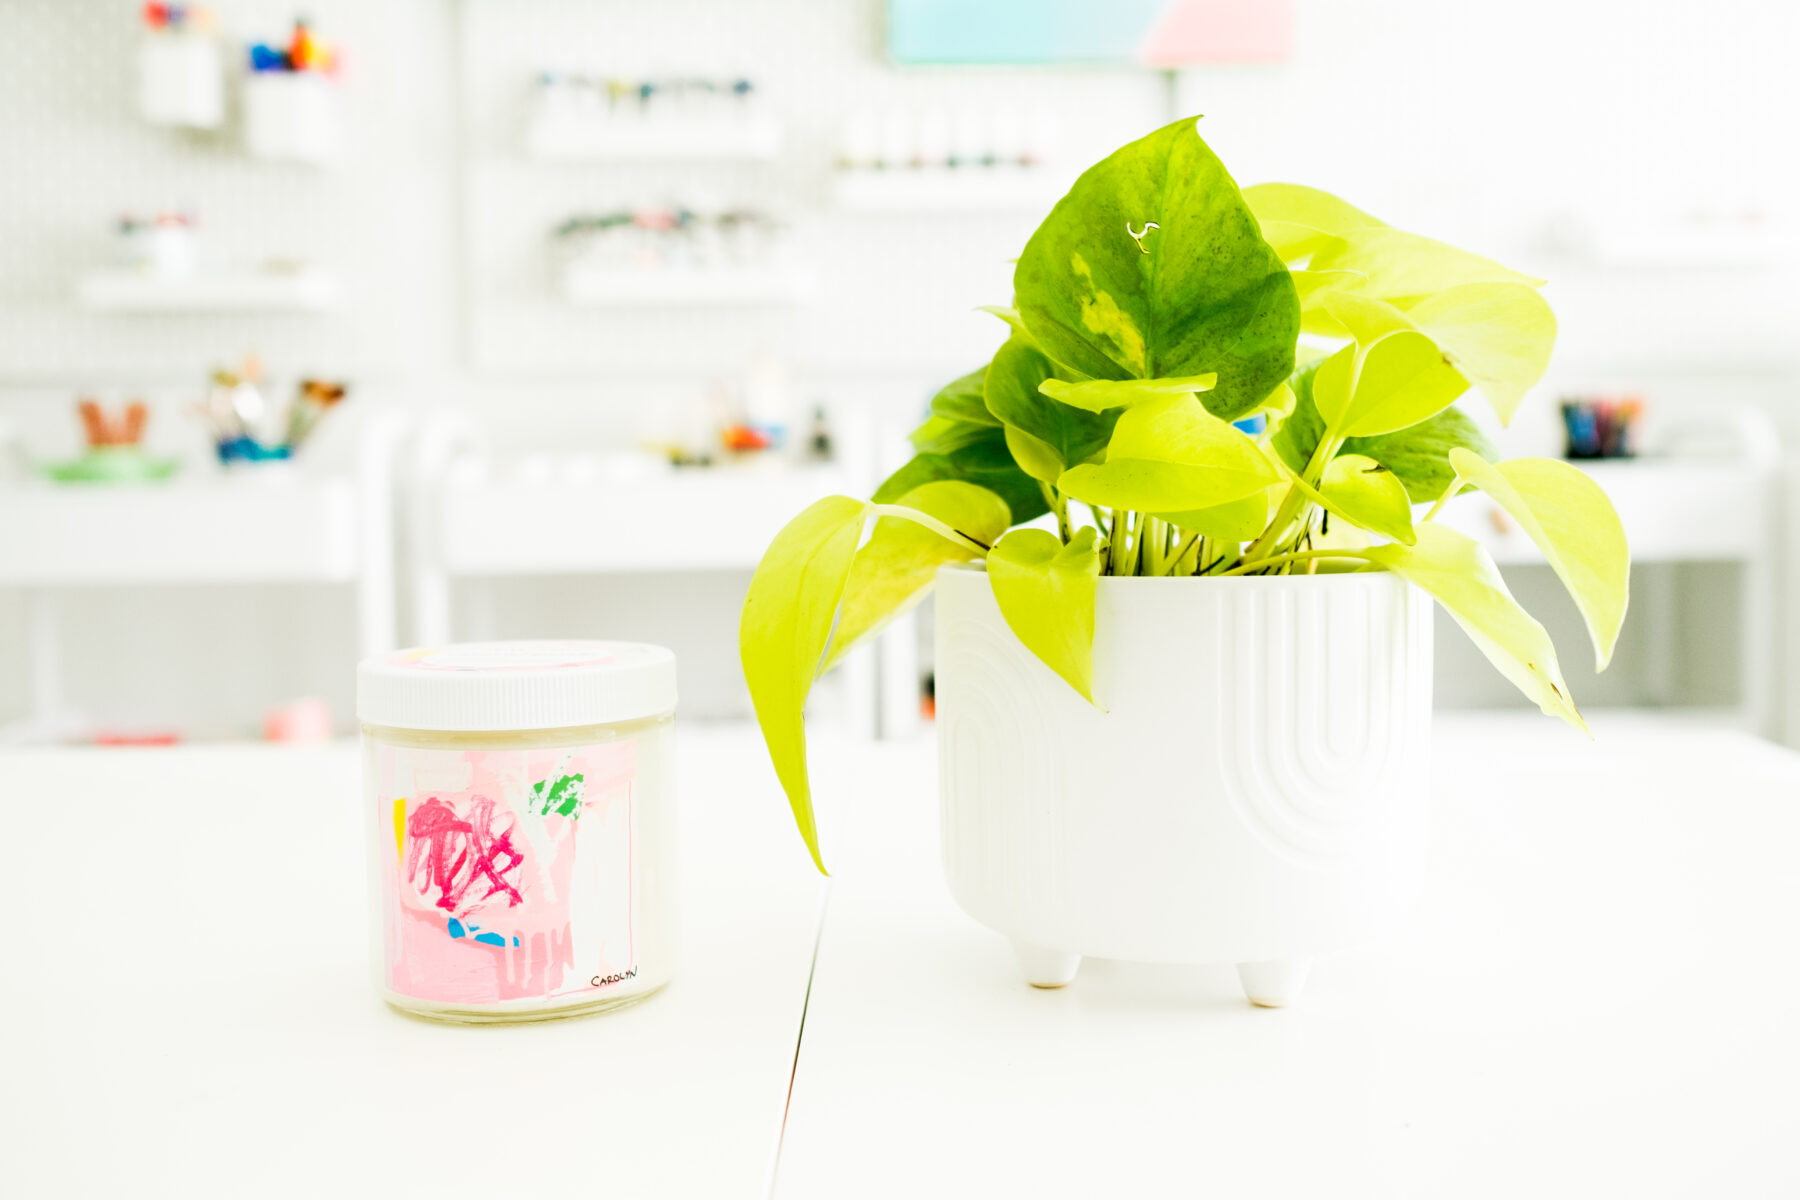
First, I went plant shopping to bring some life into the studio! Now, my space feels so cheery and bright. Being surrounded by color is so important to my creative flow—especially before the work is created.
STEP TWO:
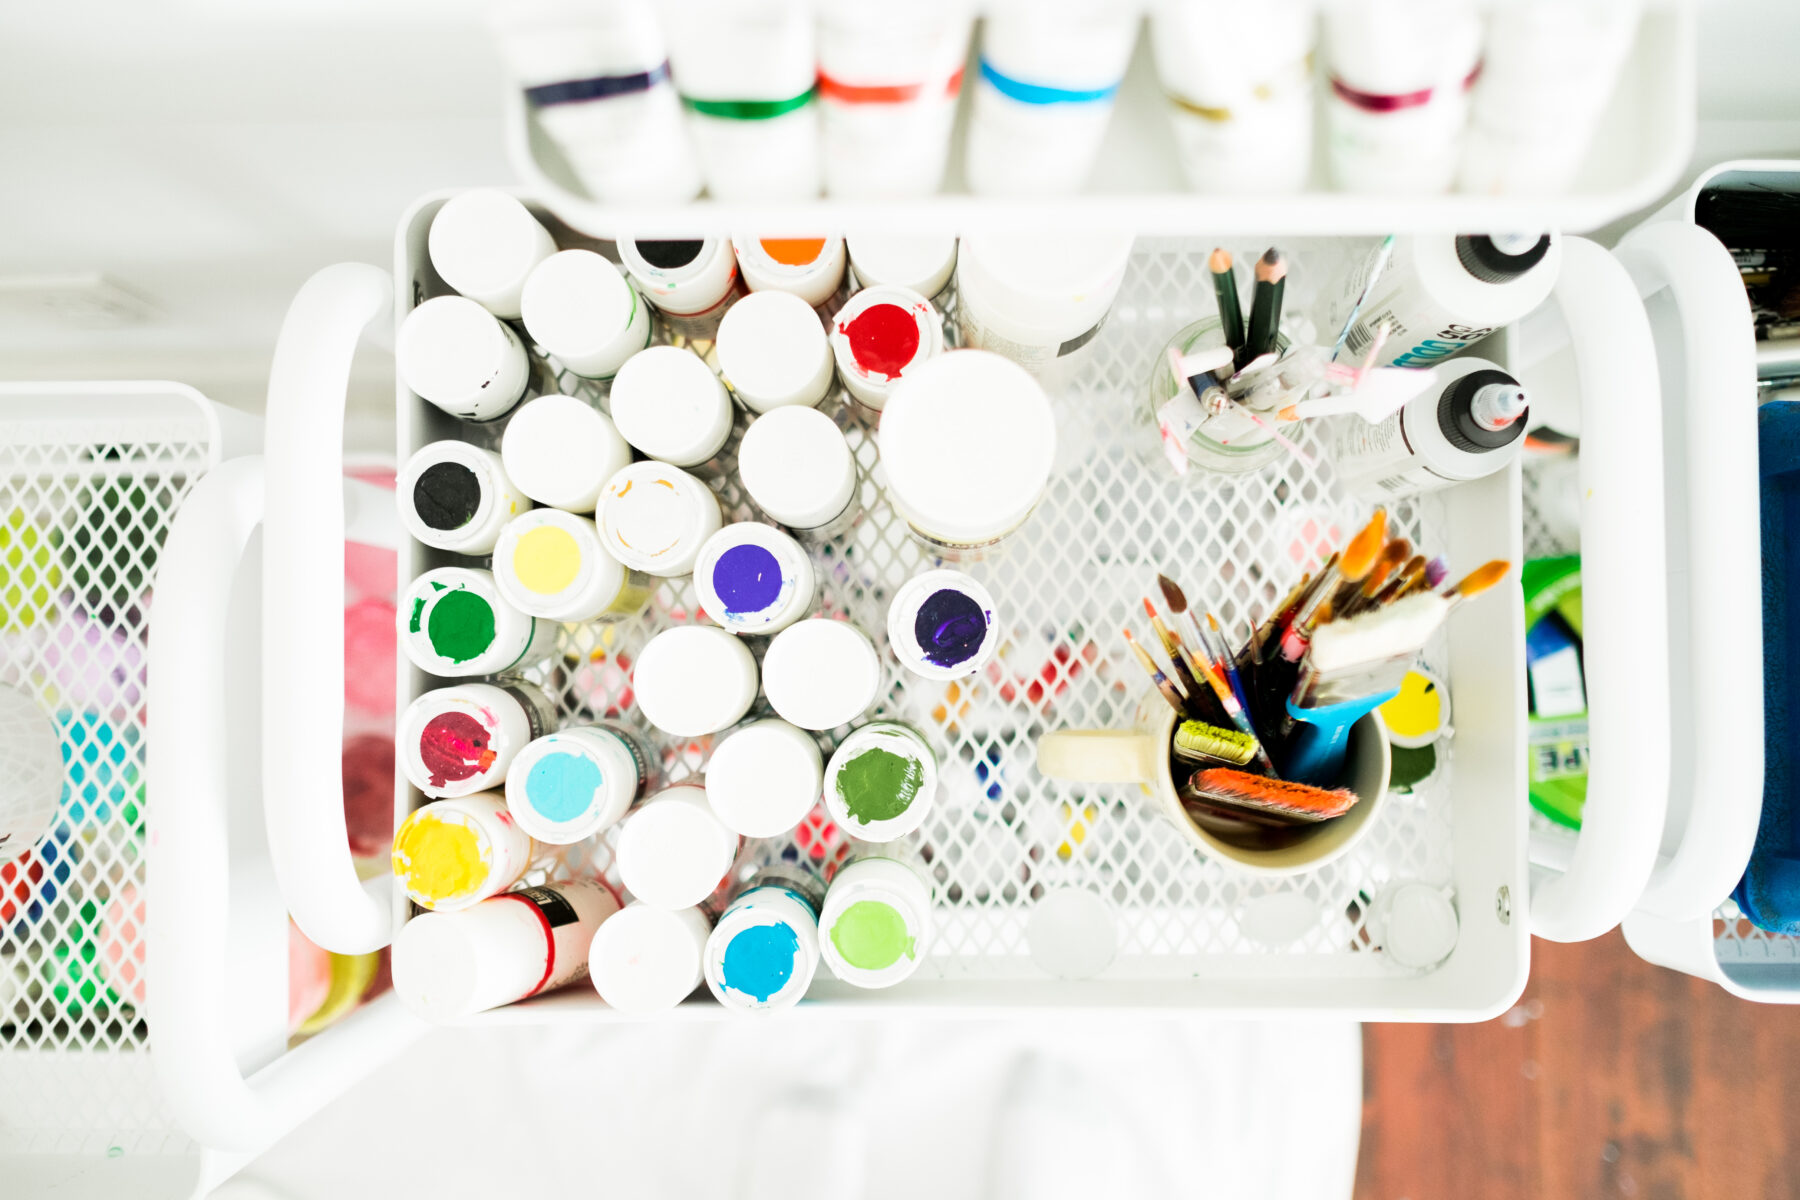
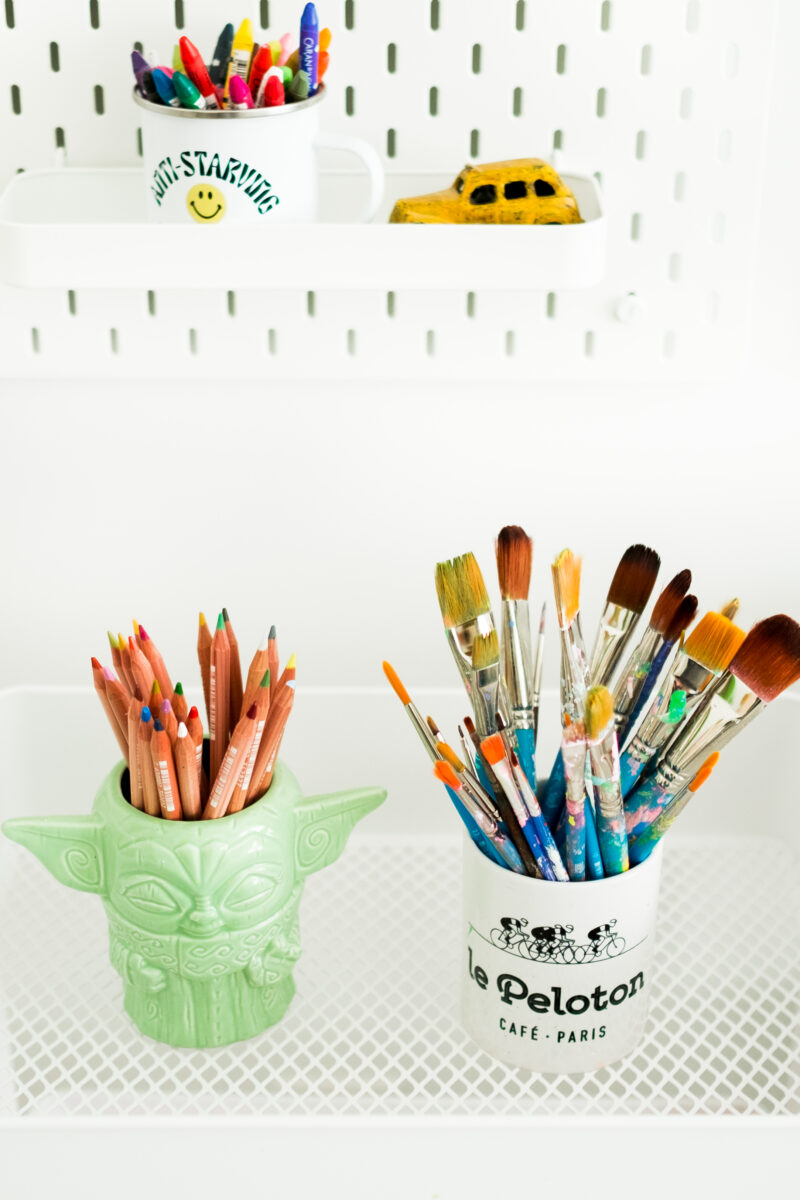
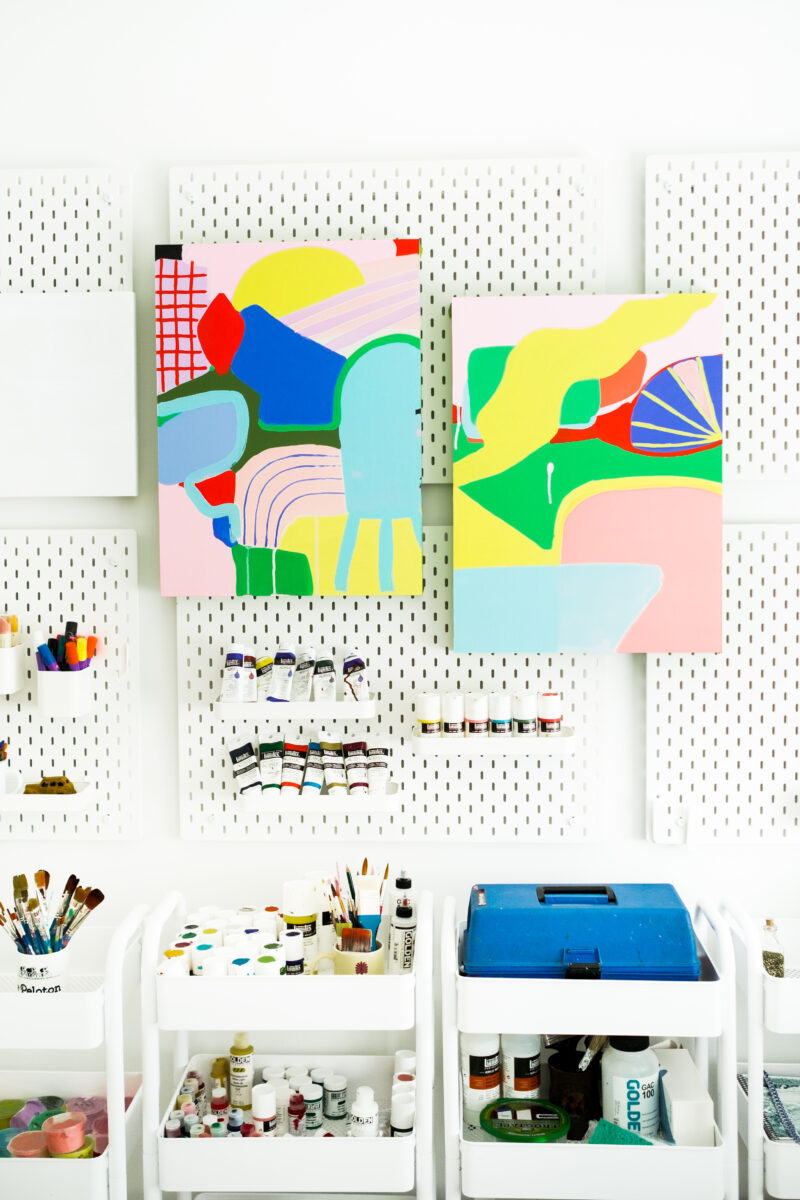
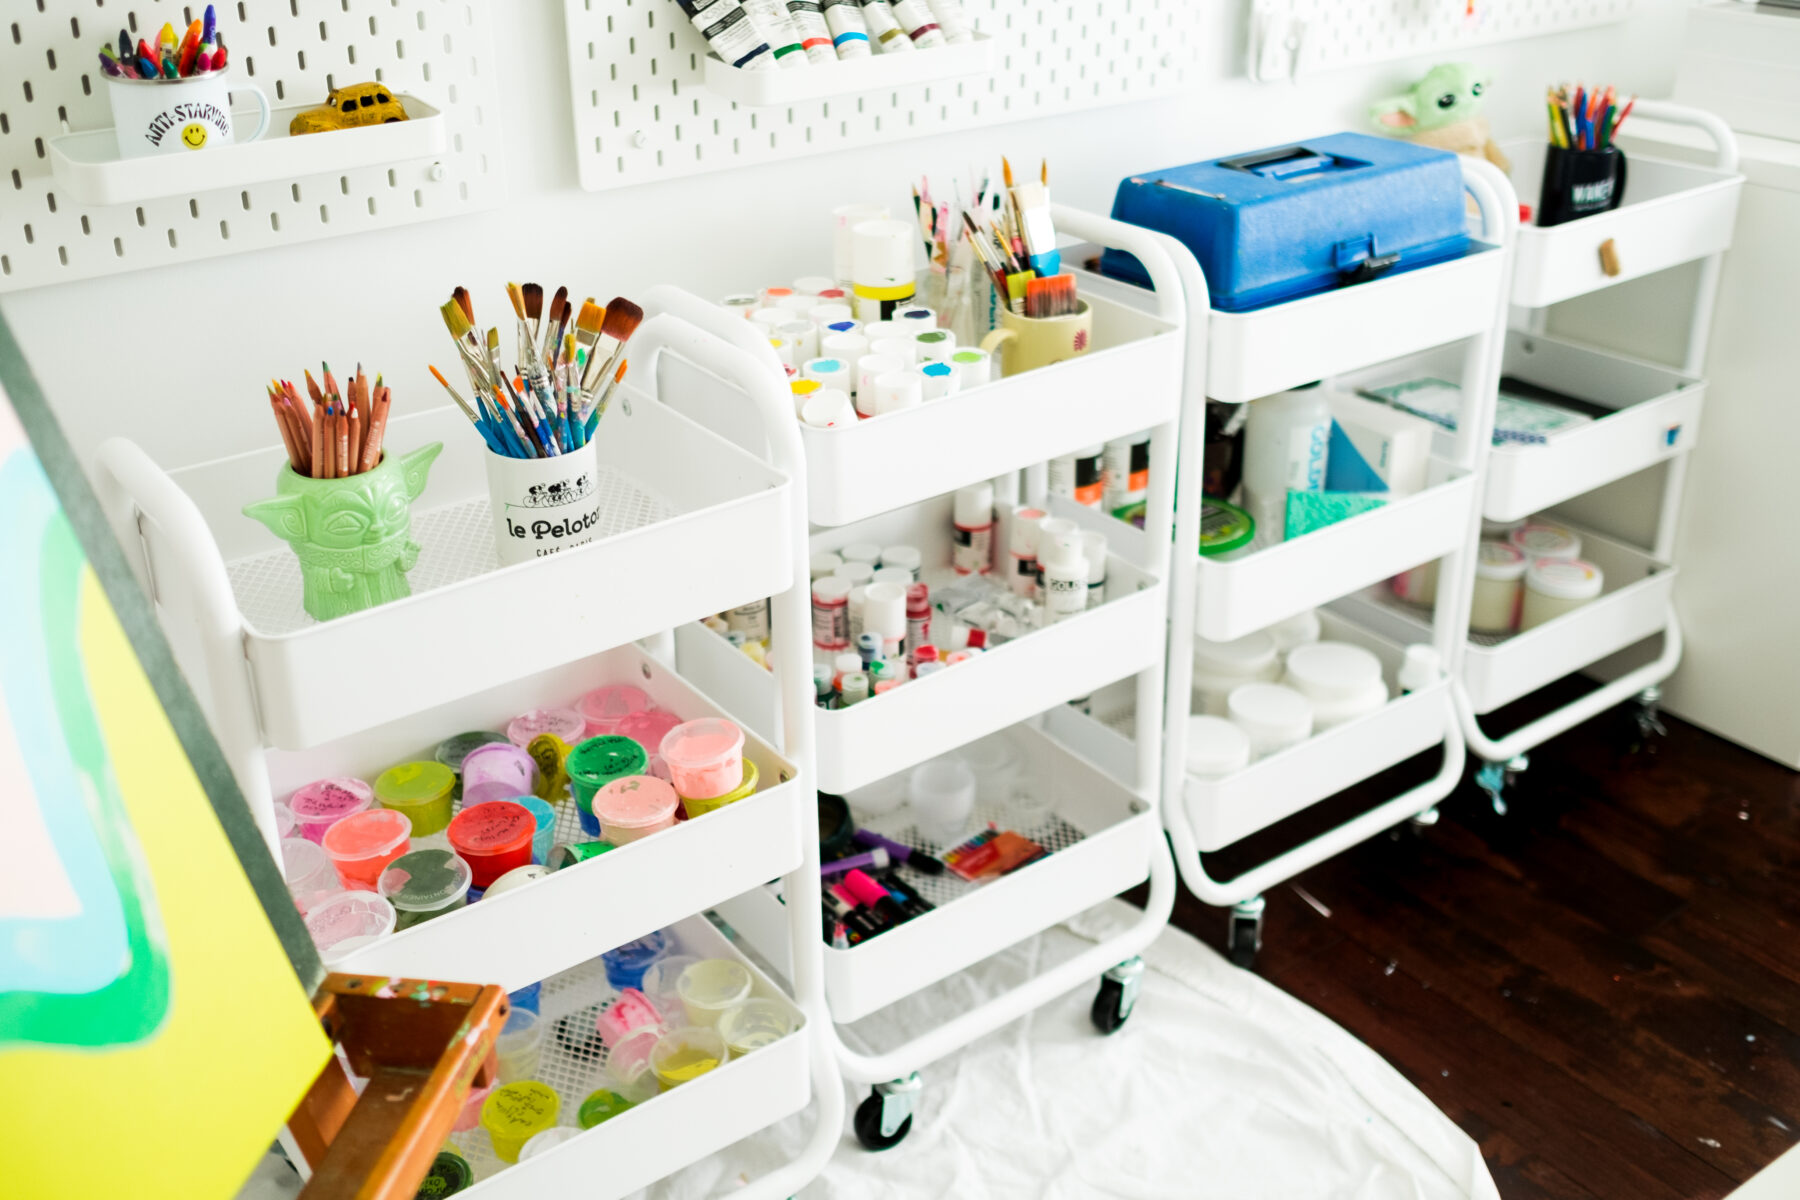
Next, I got rid of the big desk that was always cluttered with piles of art papers. In fact, the desk blocked big, beautiful windows so now I have extra light streaming in too. Plus, my paint carts hold so many paints, mediums, brushes, and materials that I really don’t need a tabletop. Having less furniture makes the space feel larger and like I have more breathing room.
STEP THREE:
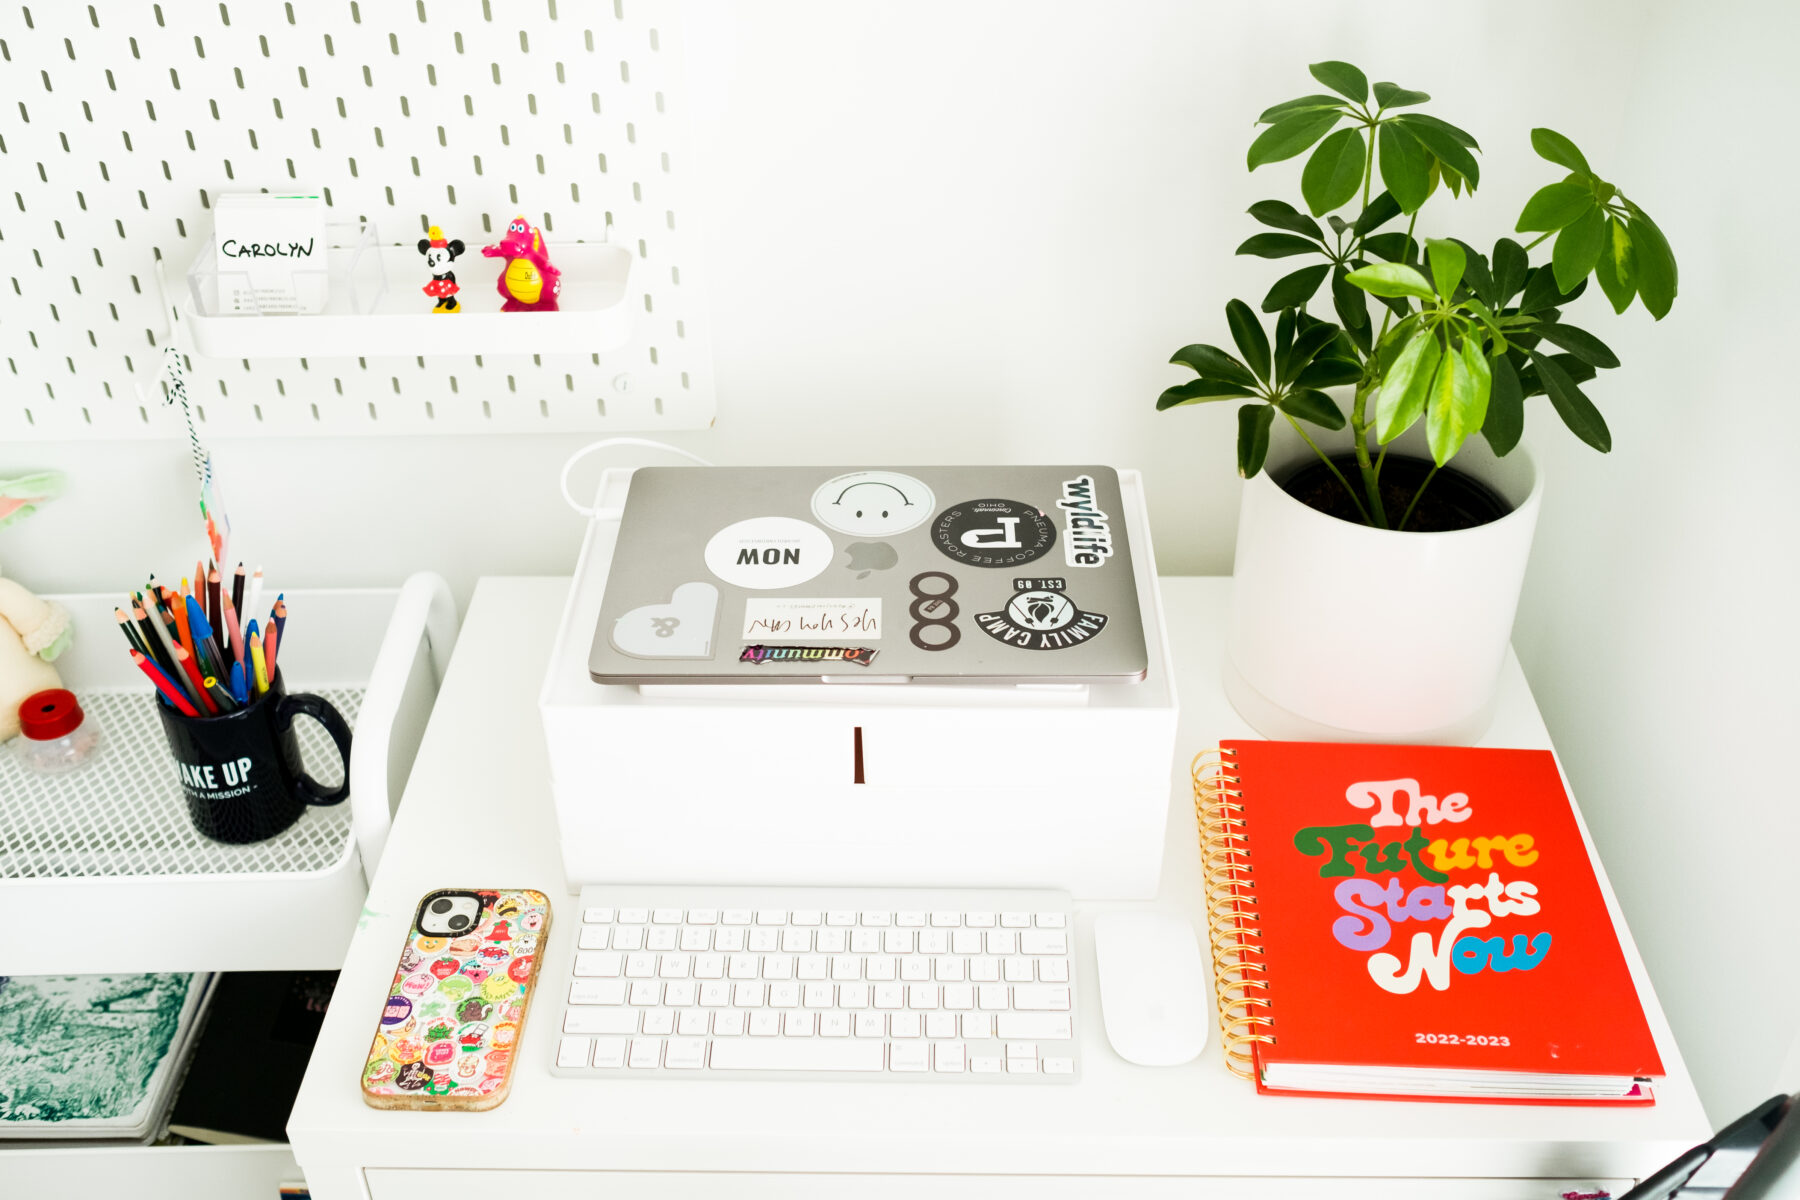
Thirdly, I pulled my favorite paper trays away from the wall and into the center of the room. As a result, I now have a fun work station. I think it looks cool, and it’s super helpful to have paints and supplies right at my fingertips. I also pushed my desk into a cozy corner with natural light for editing art photos. Bonus that it has an outlet for my laptop!
Plus, it’s super helpful having various zones for different kinds of creativity. Whether it be prepping panels, painting, or doing laptop work, there is a different area in the studio for that particular task.
STEP FOUR
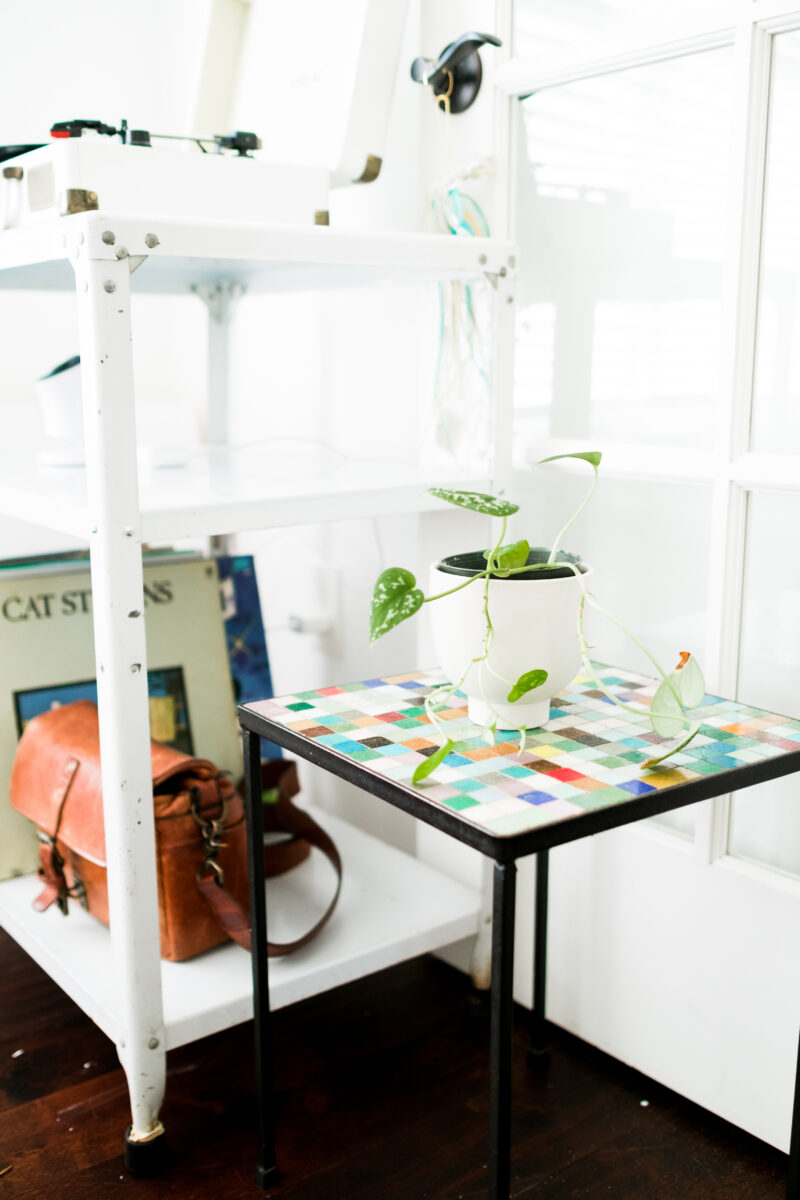
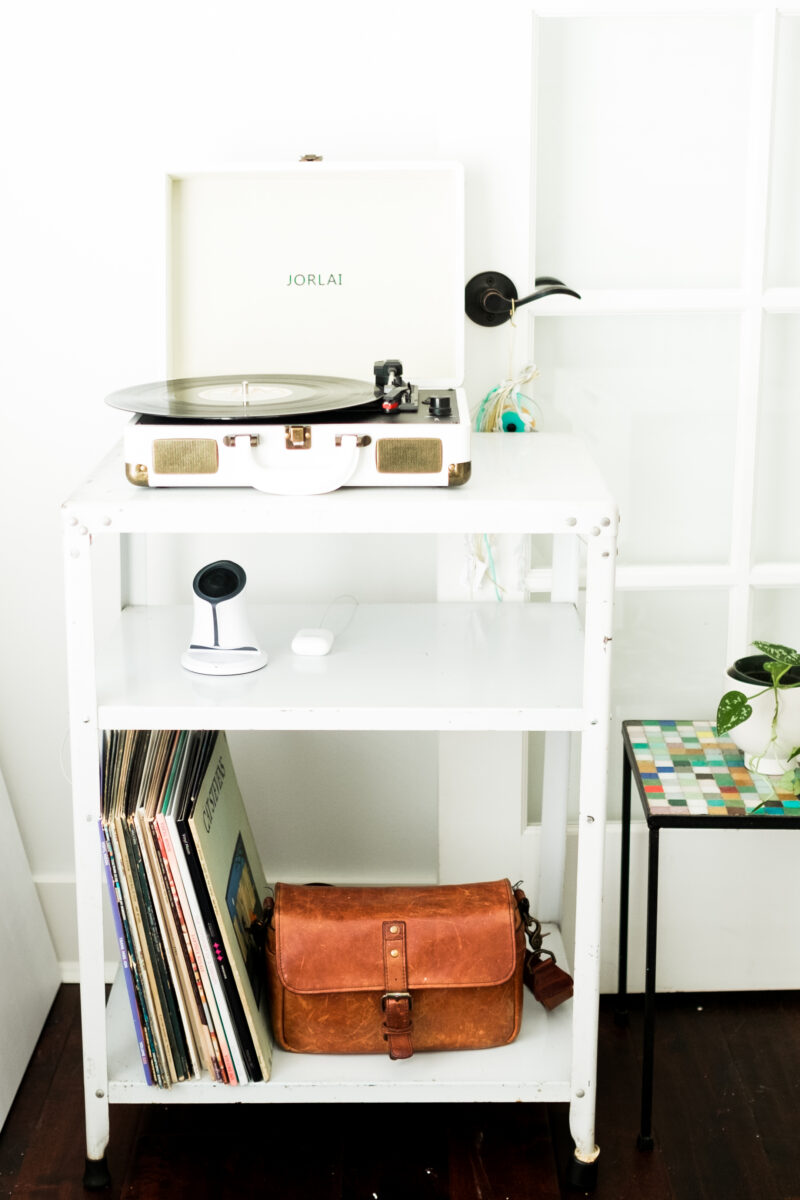
In addition, I created a special space for music. Previously, I had picked up this vintage metal stand at a flea market. We adjusted the shelves to make it a record stand. It now holds my record player, speaker, AirPods, and of course record collection. Music inspires me in the studio so I’m super happy this metal stand holds everything so brilliantly.
You can see a Cat Stevens album peeking out in the stack. Cat Stevens albums have always been a favorite. My mom used to listen to his records in our house growing up. Then, in college I discovered a record player and his records in the literary journal office where I worked. I always loved listening to his music in the background while reviewing poetry, short stories, and art for publication. Years later, I discovered my own copies in this local vintage record shop and this one too.
The tiny table pictured above is where I first fell in love with color! It was my Grammy and Grampy’s and it’s really special to have in my studio now. When a little girl, I would point to each colored square tile. I was so fascinated with the bright colors and why they were arranged in certain spots.
If you surround yourself with warm things that make you feel safe, I believe it’s easier to put yourself out there in the world. It’s that yin and yang of feeling supported in your space so you can take big risks in your work!
STEP FIVE
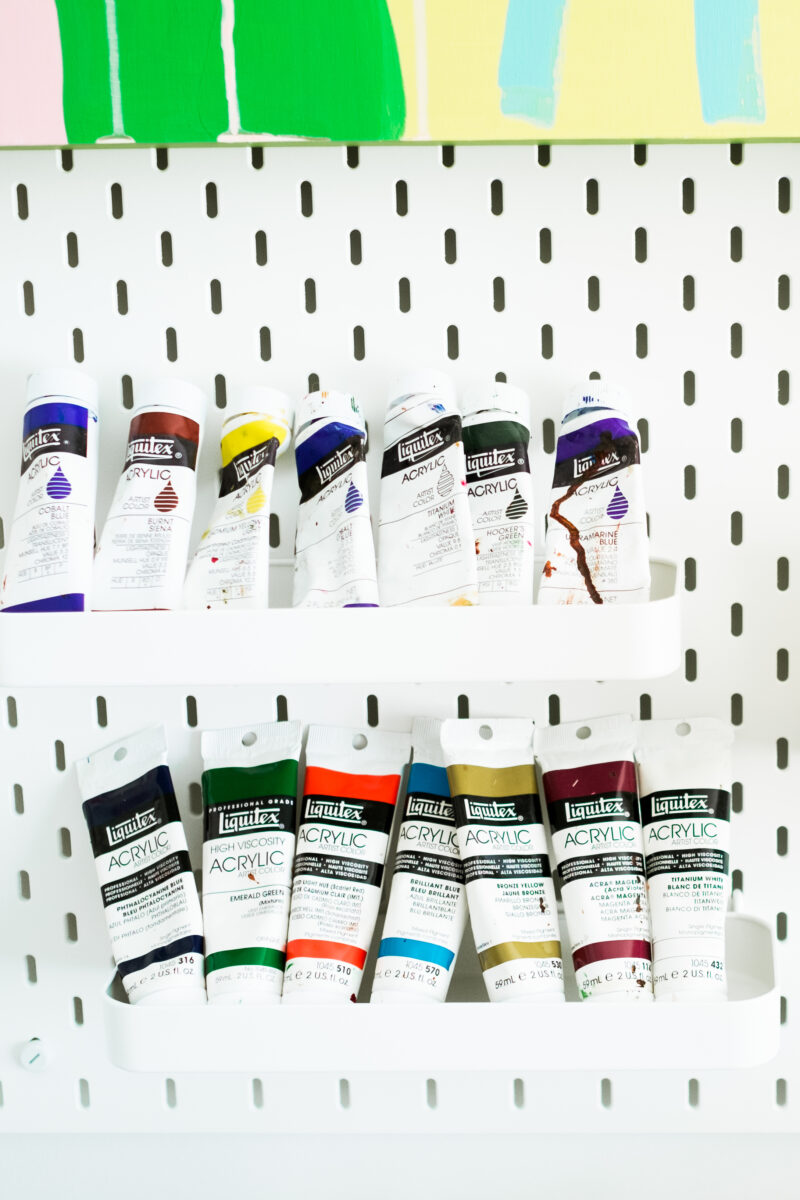
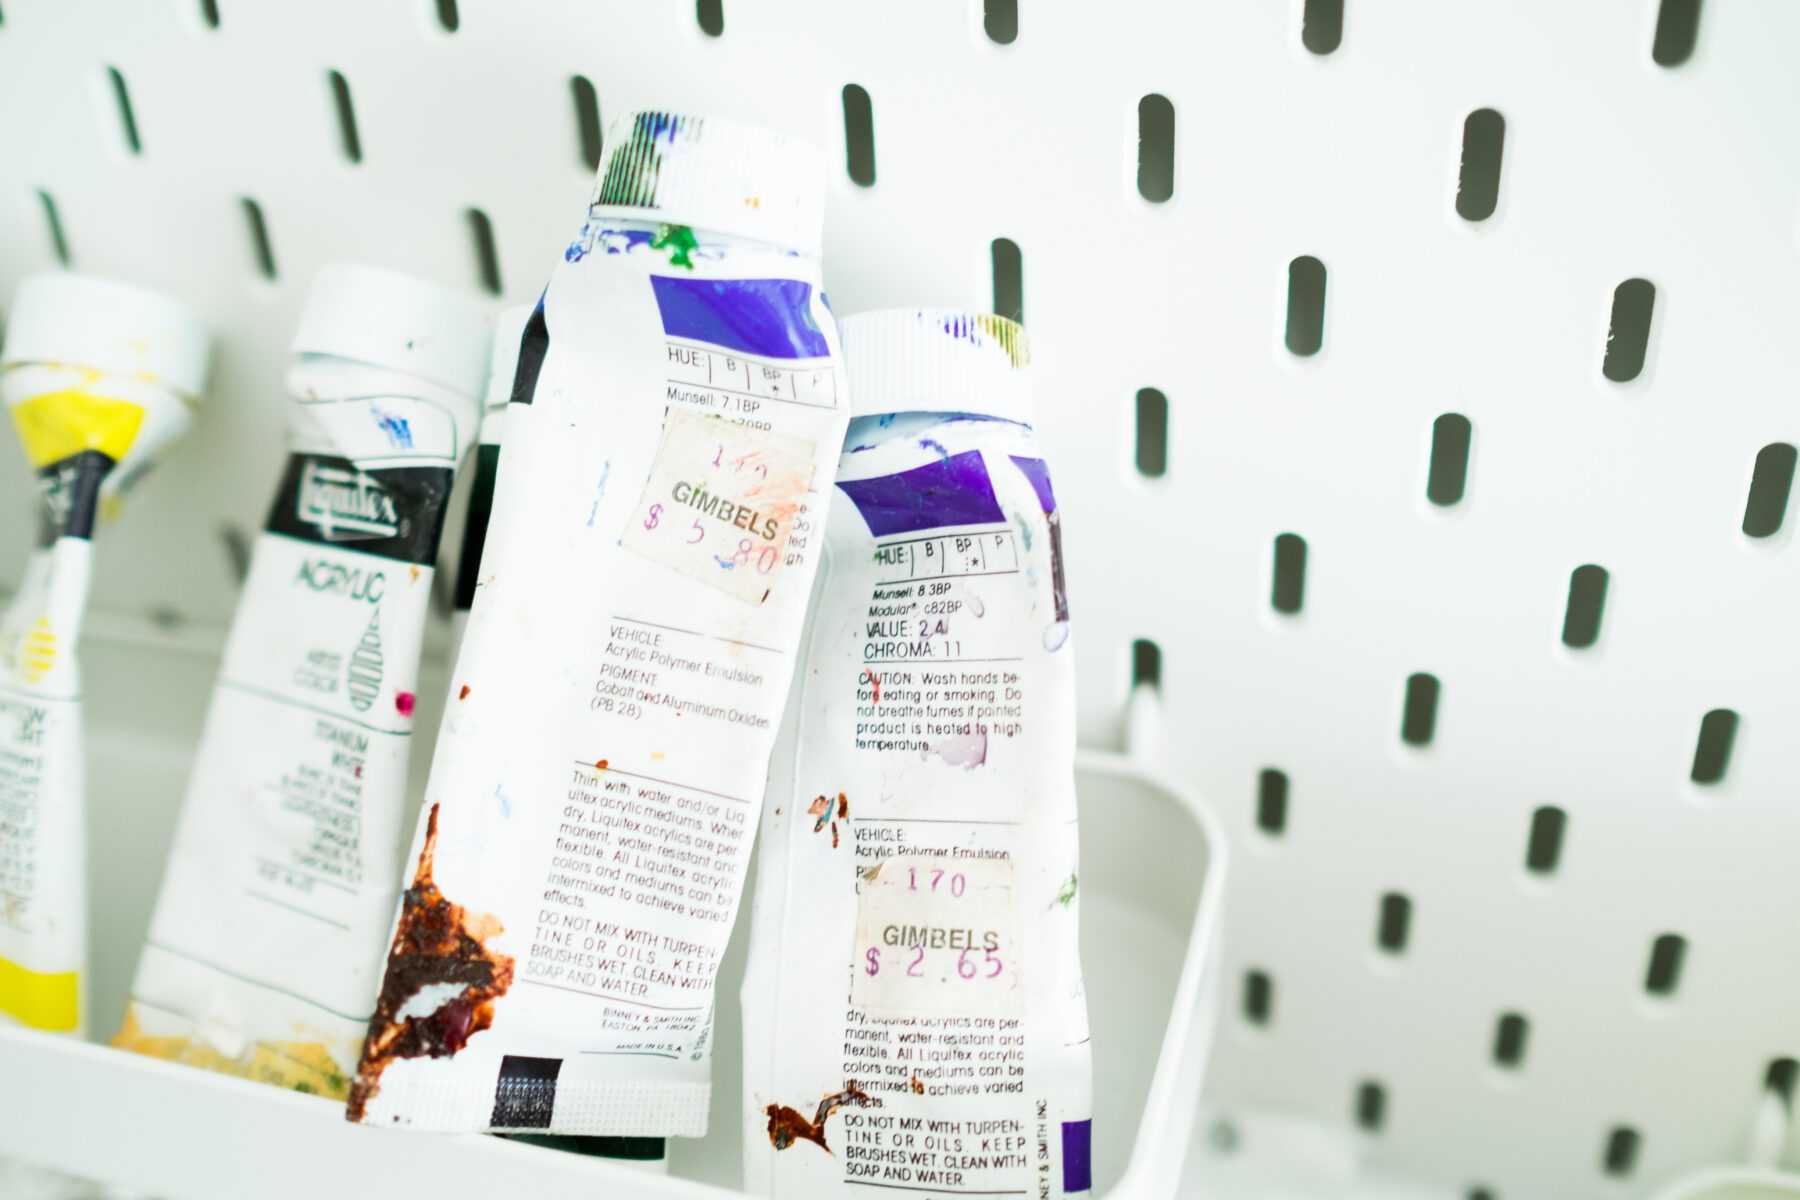
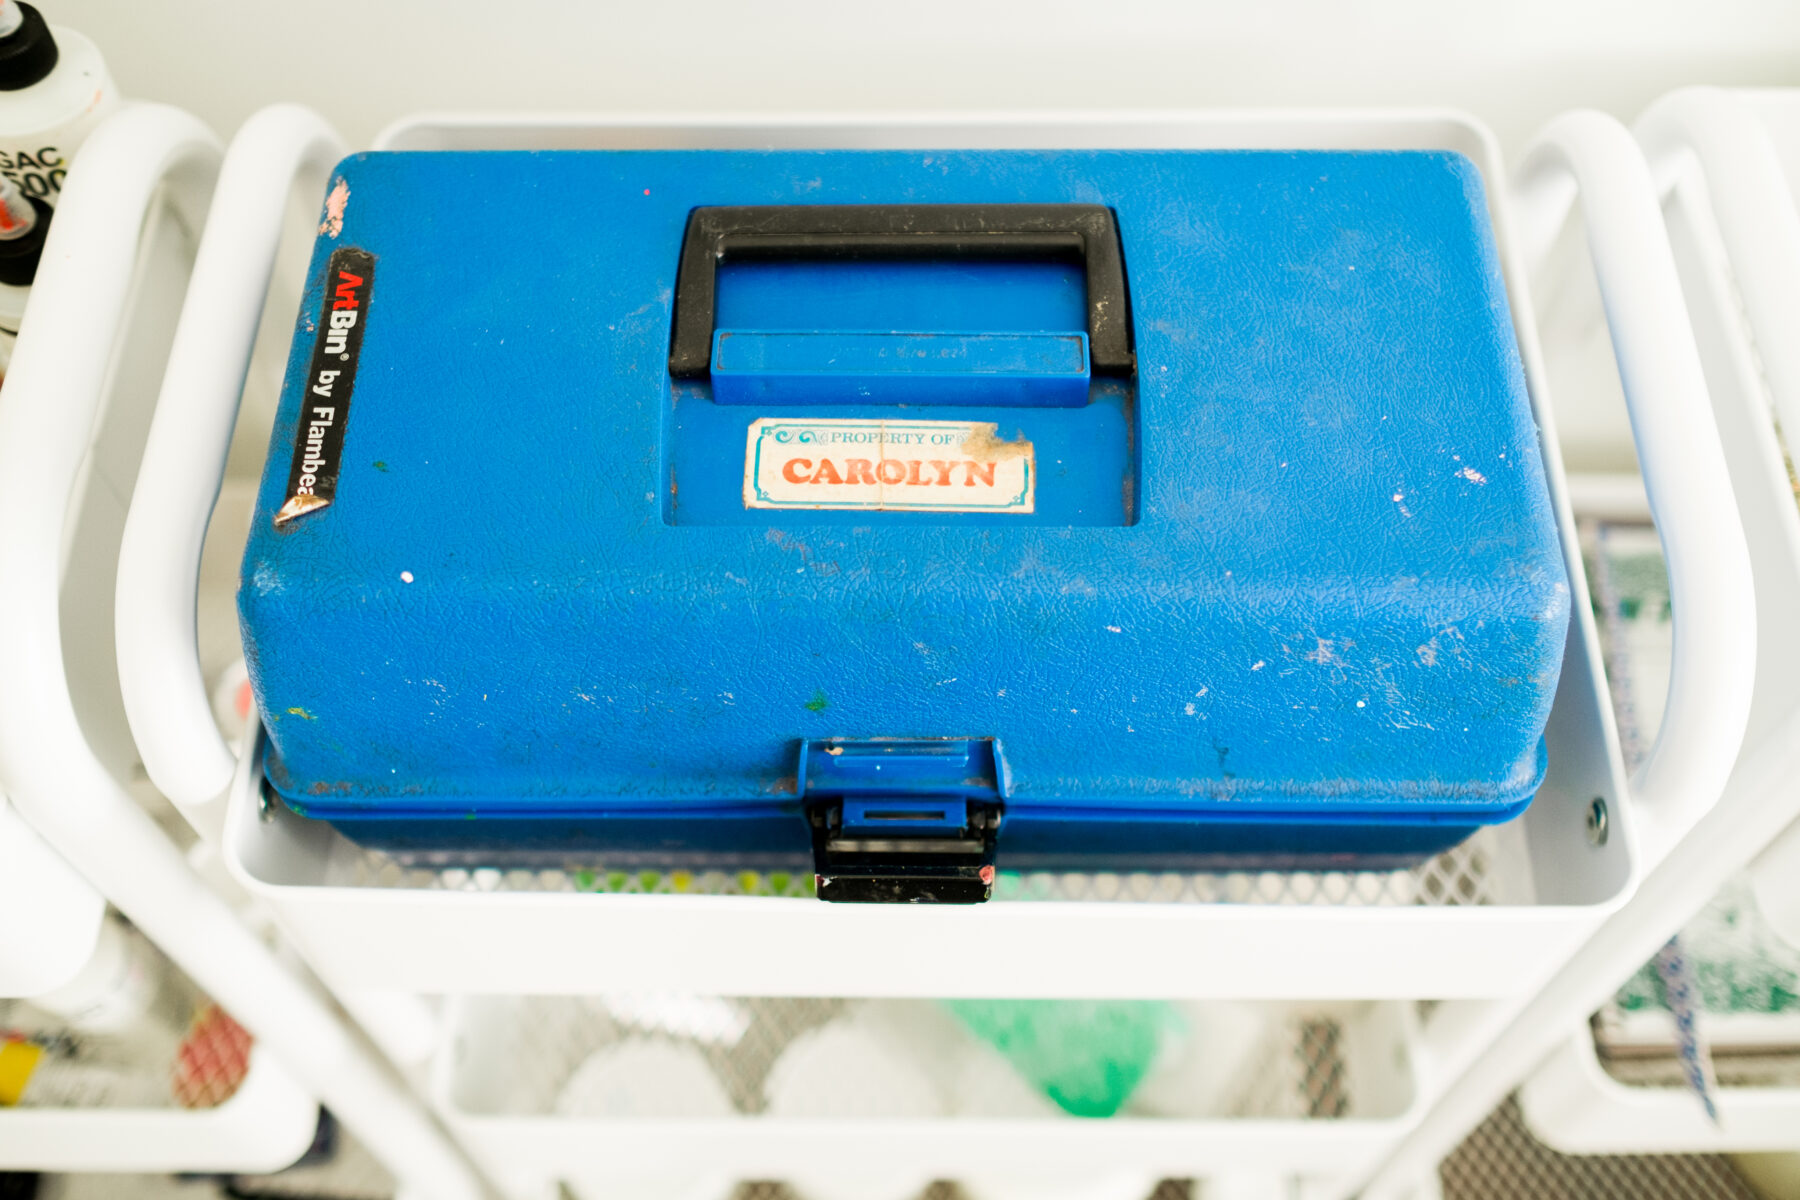
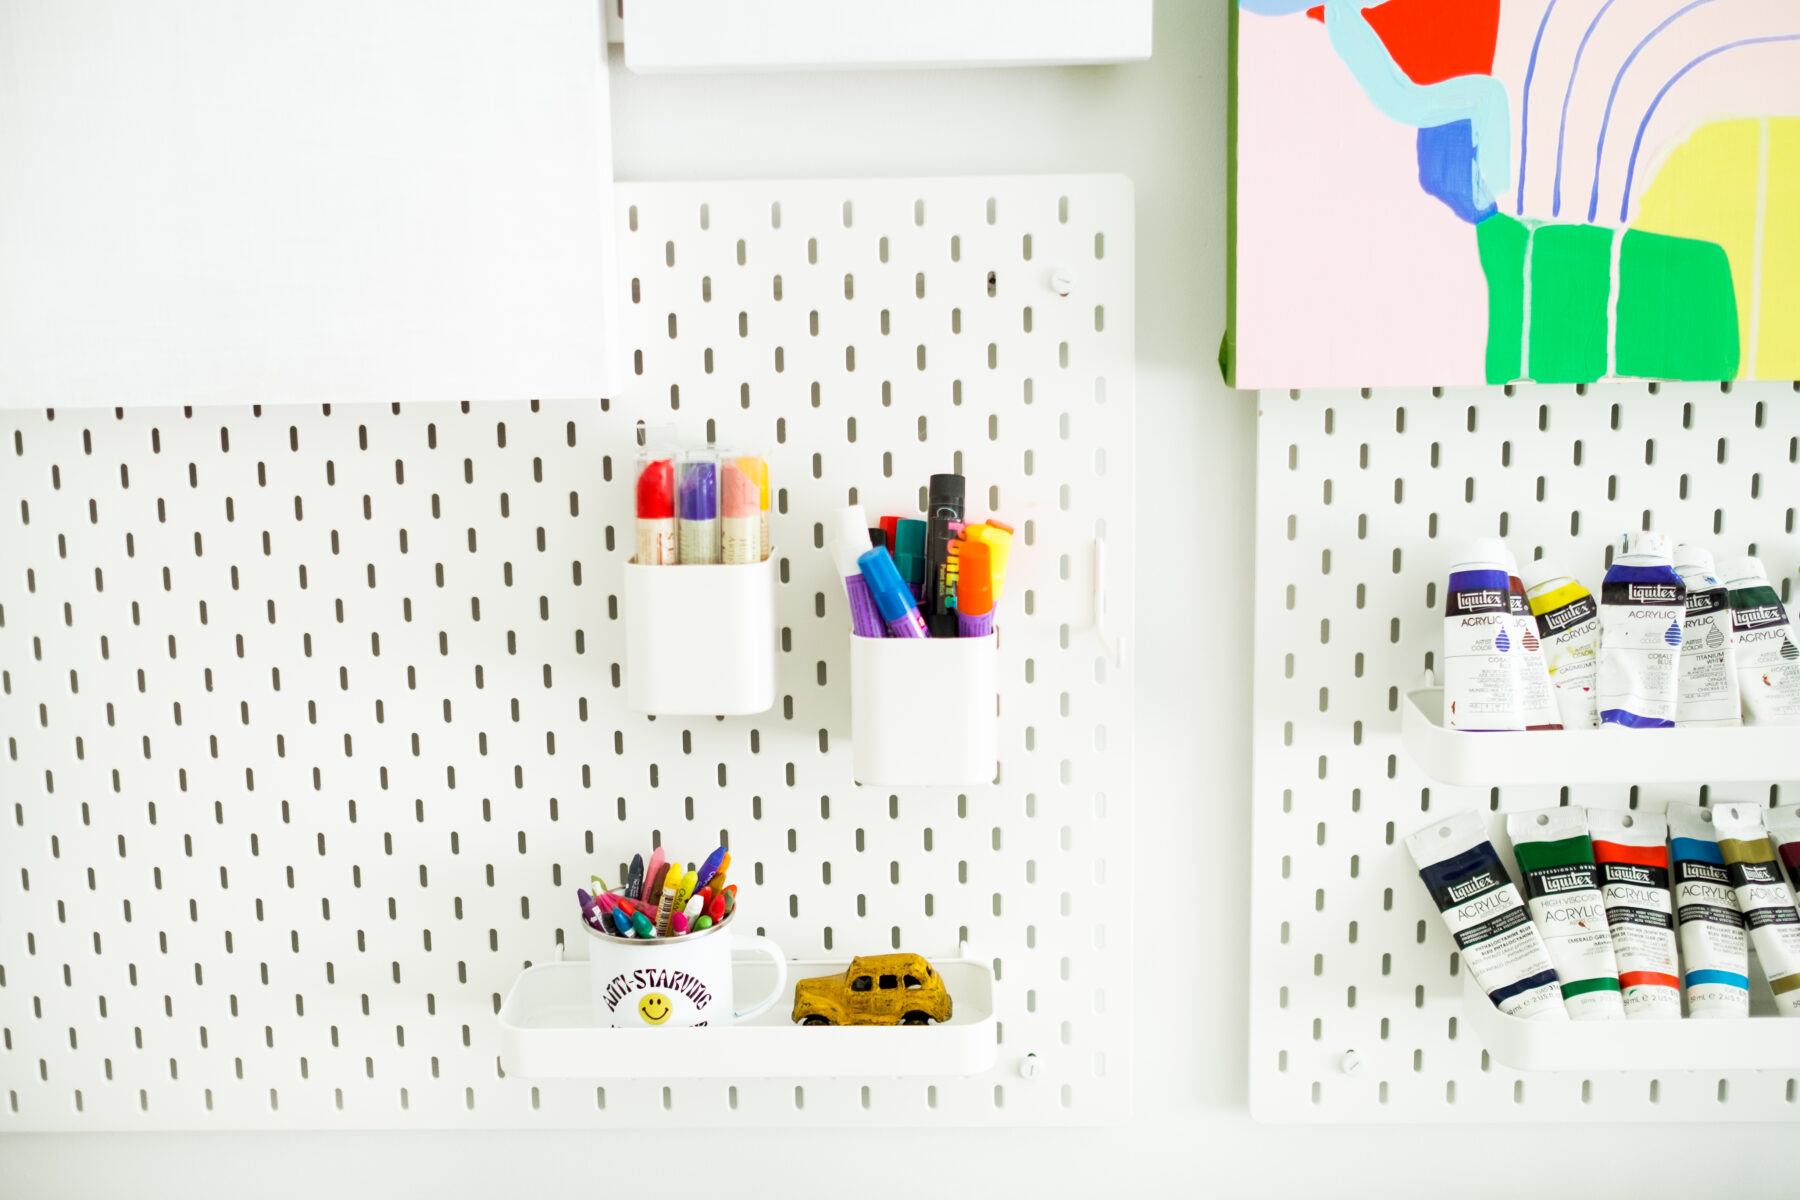
Lastly, I arranged old tubes of ’80’s paints on the wall along with my blue art caddy. Both were used in my very first group art classes when I was eight years old. They’re a reminder to create whatever I want without fear and to bravely pursue my art dreams.
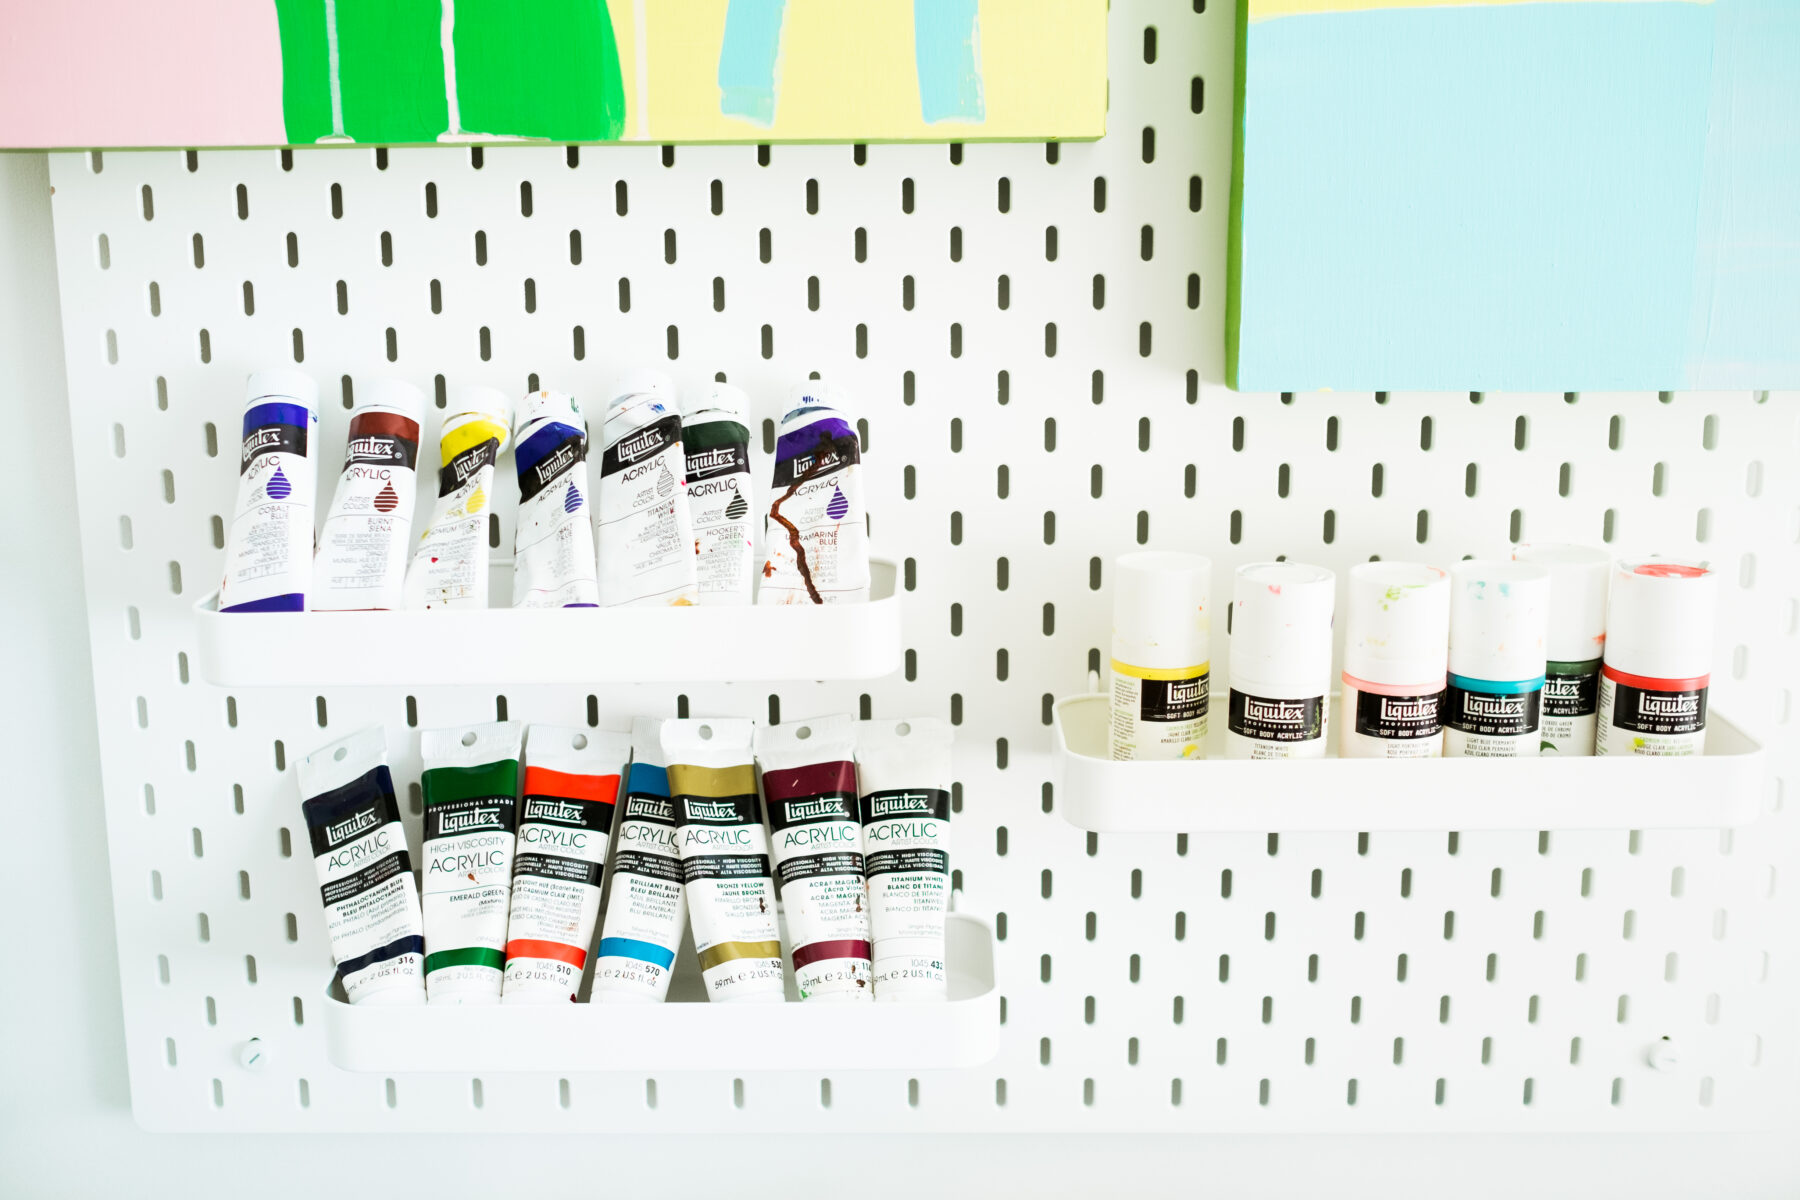
Also, I displayed the Liquitex tubes I used to start my own art biz. Seeing those old tubes sitting next to new ones has been such a full circle moment for me. It’s an encouragement to me daily—that I’m doing what my heart has always wanted to do!
My hope is that you feel especially inspired by how I’ve rearranged my art studio. I can’t wait to see what you do in your space! Additionally, I’ve provided a checklist to help you get started.
CHECKLIST:
Ask yourself if it is:
- Functional? Think materials, practices, routines, and rhythms.
- Aesthetically pleasing; a place I want to be all day?
- A space that supports me emotionally and mentally so I have the capacity to take risks in my work?
- Sustainable? Can I easily put things away to keep it tidy and in working order?
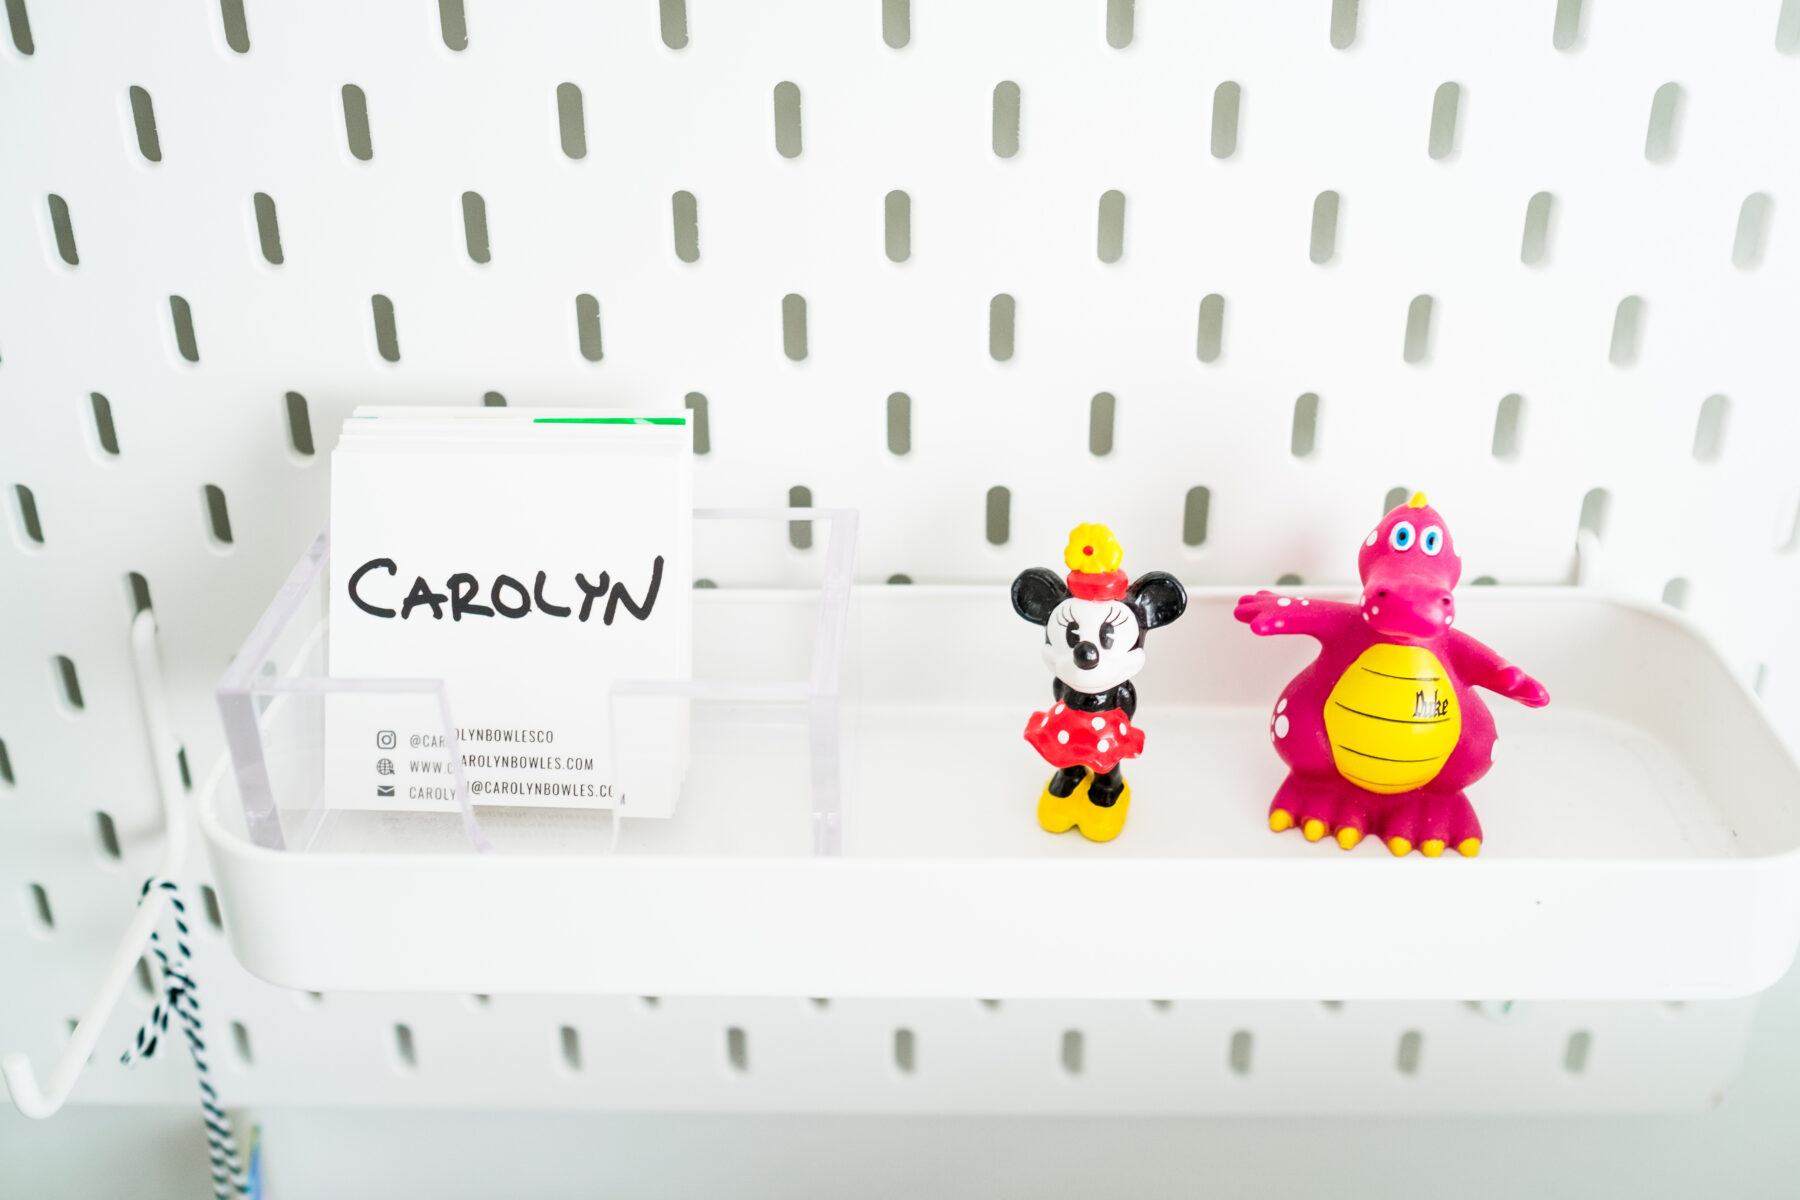
I’m loving my new space, and it’s a joy to invite you to where I create all my artwork! In similar fashion, I hope it inspires you too! 🙂
